
In today’s work-from-home era, a seamless and professional video meeting setup has become an essential part of our daily routine. As remote work becomes more prevalent, it’s a good idea to create a space that not only delivers excellent video quality but also integrates smart lighting and automation to create the perfect environment for video meetings. In this blog post, I will walk you through my current home office setup, sharing the components and tips that have made my video conferencing experience top-notch.
The Camera: Canon 90D with Elgato Multi Mount
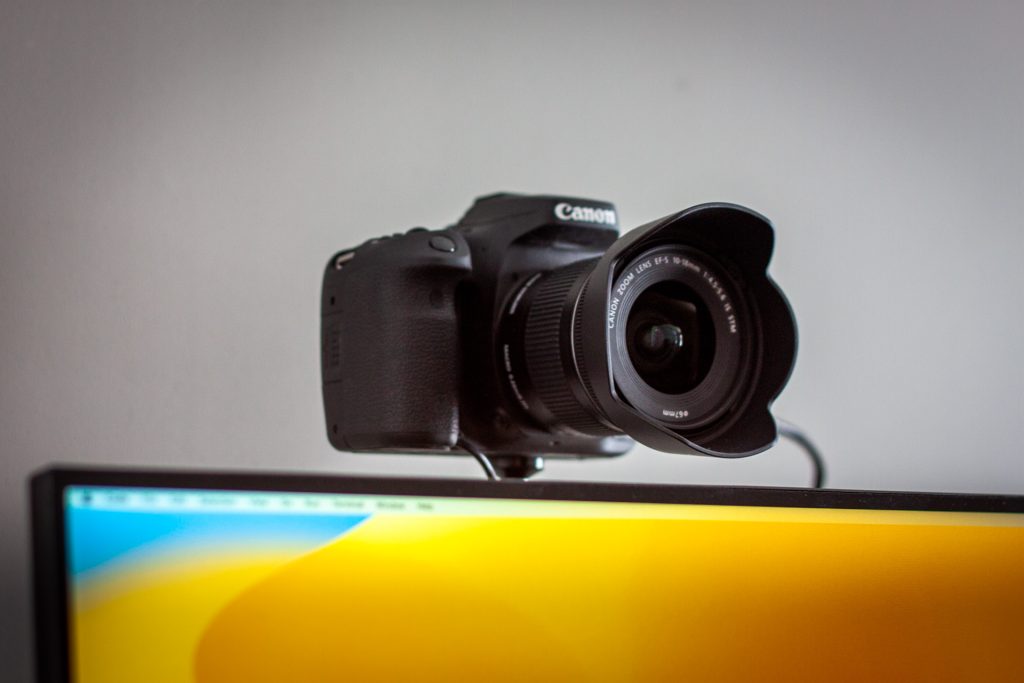
At the heart of my setup is the Canon 90D DSLR camera, which provides outstanding image quality and reliable performance. The camera’s autofocus, face tracking, and color reproduction capabilities are just a few of the features that make it a good choice for video meetings – but most importantly, it is the camera I have available. This camera is then connected to an Elgato Cam Link 4k which seamlessly allows me to use the HDMI output from the camera as my webcam.
To position the camera perfectly above my monitor, I have mounted it on an Elgato Multi Mount. This sturdy and adjustable mount ensures the camera is secure and captures the best possible angle for video meetings. Additionally, the Elgato Multi Mount’s modular design allows for easy adjustments and repositioning, so you can tailor your setup to your unique needs.
The camera uses a dummy battery which gets its power over USB-C. This has taken yet another burden away, since I don’t need to think about charging the camera. I do find that taking it off the mount is enough work that I don’t bother taking it down as often as I should, but there are solutions for this – like quick release adapters.
To be clear; You don’t need a camera of this level, but if you do have one, and it can be used in a setup like this, then in my mind you get even more value out of it. Otherwise, using continuity camera on your iPhone, or similar alternatives can also be a good solution. Especially if you get a magnetic mount for your phone.
Monitor and Laptop: Dell U2520D and M1 MacBook Pro 16”
For display, I use the Dell U2520D monitor, which offers good value for the money for my use case for design and development work – read more about why I only use a single monitor. The monitor features a USB-C connection, allowing for easy integration with my laptop and reduced cable clutter on my desk. This really is a quality of life thing, just having that one cable to connect.
This monitor is mounted on a gas arm, which allows me to easily adjust its position for optimal ergonomics and viewing angles. The gas arm also helps keep the monitor at eye level, promoting better posture and reducing eye strain.
The Dell U2520D connects to my M1 MacBook Pro 16”, delivering a seamless and powerful computing experience. The M1 chip’s performance and efficiency has been great, and unlike my previous Intel MacBook, I haven’t heard the fans ramp up even once in my first year of usage.
Audio Setup: Microphone on an Arm
To ensure great quality audio during video meetings, I have a microphone mounted on an arm next to my monitor. This setup enables me to position the microphone close to my mouth for excellent sound quality while keeping my desk clutter-free. A pop filter and a shock mount further enhance the audio quality by reducing plosive sounds and vibrations. In my experience, you don’t have to go completely overboard, any half decent dedicated microphone will be a big step up, and after that the improvements are relatively minor.
Lighting: Elgato Ring Light and Philips Hue Bulbs
A crucial aspect of any video meeting setup is proper lighting. To achieve this, I use an Elgato Ring Light that illuminates my face evenly and reduces harsh shadows. The ring light features adjustable color temperature and brightness settings, allowing me to customize the lighting to my preferences and the ambient light conditions.
In addition to the ring light, I also use Philips Hue bulbs and downlights throughout the room to create a comfortable and well-lit environment. These smart lights offer a wide range of color temperatures and brightness levels, allowing me to set the perfect atmosphere for productivity and focus.
Smart Lighting Automation: Streamlining Your Setup with Home Assistant
To make my setup even more efficient, I have integrated smart lighting automation using Home Assistant. This powerful open-source software enables me to create custom automations for my smart home devices from a single interface.
For example, the Elgato Ring Light automatically turns on when:
- I am home
- The MacBook is connected to the monitor
- The “webcam” (Canon 90D) is in use
During video meetings, Home Assistant also turns off the rest of the room’s lighting to prevent any distractions. Moreover, the lights are controlled by motion sensors and automatically adjust their brightness based on ambient conditions. However, these features are disabled during video meetings to maintain consistent lighting throughout the call.
Integrating Home Assistant with my setup has not only simplified my daily routine but also helped conserve energy by ensuring that lights are only on when needed.
Cable Management and Organization
A clean and organized workspace is essential for maintaining focus and productivity. To keep my desk clutter-free, I have implemented cable management solutions such as cable clips, sleeves, and under-desk trays. These help conceal cables, making the space visually appealing and easier to maintain.
In addition to cable management, I have also placed my most frequently used items, such as a wireless keyboard, mouse, and a notebook, within easy reach. This layout minimizes distractions and allows me to quickly access the tools I need during video meetings.
Whats more can you do?
Well, if you have smart shades, you can automate these to close so you get consistent light levels every time. This also makes it easier to dial in the right settings for your key light.
If you have other people in the house, you can set up a light outside your room that changes color to indicate that you are in a meeting. Teach your other family members that a red light means you are in a meeting.
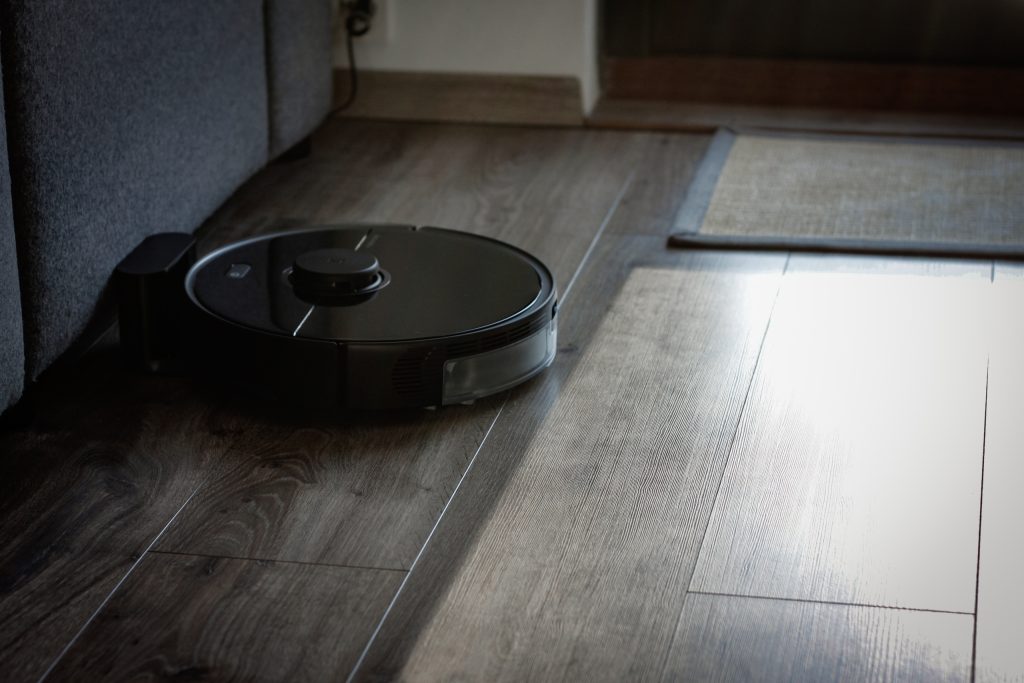
There are certainly even more cases for trigger automations based on meetings. For example, at one point I had the robot vacuum run at a certain time when I was the only one at home. But in order to prevent noise in case I start a meeting, the robot vacuum would be paused automatically, and resume cleaning once I hang up. This has really come in handy.
Conclusion
In conclusion, my home office video meeting setup has made it easy for me to have video conferencing meetings with all the settings dialed in automatically. The integration of Home Assistant automation and thoughtful workspace design ensures that my environment is always ready for a video meeting, allowing me to focus on my work without any distractions.

